For most new users of Linux, automounting an internal NTFS drive is probably not a concern as you’ll just have one hard drive and it will be reformatted to either EXT3 or EXT4. But for people who dual boot Windows and Linux, like I do, being able to mount the NTFS formatted drives in your computer under the Linux operating system is often very important. While Windows won’t recognize EXT3 or EXT4 formatted drives, Linux does play nice and will recognize the NTFS drives. However, it does not automatically mount them. It automatically recognizes them and makes it easy to mount them, but unless you add some functionality, it won’t automatically mount them, making them regular drives.
So, if you want to automatically mount NTFS formatted drives in Linux, here’s how (based on this site):
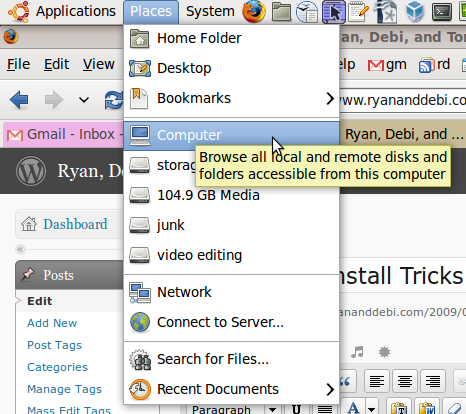
1) Make sure Ubuntu recognizes your drives. You can do this by simply opening your “Computer” from the “Places” menu.
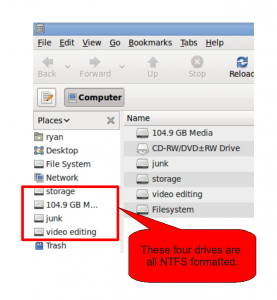
2) You should see your NTFS formatted drives, but they will not be mounted (they will be missing a little upwards facing arrow that indicates they are not mounted):
3) Make sure your system is fully updated by typing the following in a terminal:
sudo aptitude update
You can also do this by selecting “System->Administration->Update Manager”.
4) Then open a terminal and type:
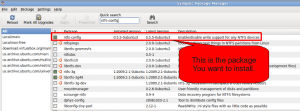
sudo aptitude install ntfs-config
You can also do this using the Synaptic Package Manager “System->Administration->Synaptic Package Manager”.
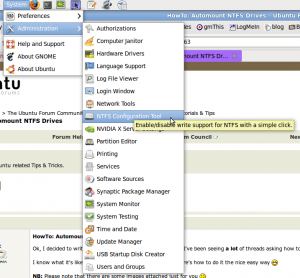
5) Now go to “System->Administration->NTFS Configuration Tool”.
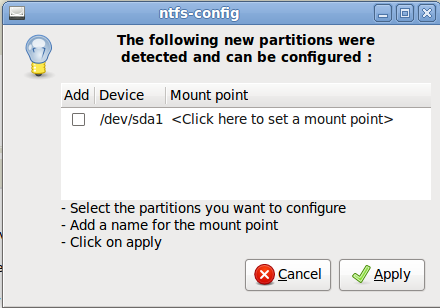
6) Once the new window opens, click in the box next to the drive you want to automount, then hit “Apply”.
(Note: You can change what the drive is called by clicking where it says “<Click here to set a mount point>” and giving the drive a name.)
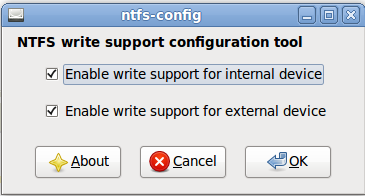
7) You’ll get one more prompt before you’re done, a window asking you if you want to:
Enable write support for internal device
Enable write support for external device
I selected both of them. Then hit “OK”.
That’s it. Now, whenever you start your computer, the drives should automatically mount.
For people used to Windows, your newly mounted drives should pop up on: (1) the desktop, (2) in your places. But if you want to see where they are relative to your File System, go all the way to the root folder (mine is simply “/”) and look under “media”. Inside the media folder you should see all of the mounted drives except the one that is running Ubuntu (your boot drive). All the other drives are accessible from that location. This is particularly good to know in case you use a different file explorer, like Krusader.
Something else I’ve noted using NTFS drives under Ubuntu… While the drives do automatically mount and you can read and write to and from the drives once you’ve done the above, Ubuntu does not have the ability to delete files from NTFS drives like it does from EXT3 or EXT4 drives. What I mean by that is that, when you delete something from one of those drives, Ubuntu does not put the files in the trash, allowing you to recover the files later. If you delete it, Ubuntu will show a prompt telling you that it will delete it forever. So, be careful when it comes to deleting stuff from those drives because they are gone for good.
![]()

Leave a Reply