I was in Aruba for four days for a conference. I didn’t have a lot of free time but, after checking out all of the details of the highest point, I thought that I could skip lunch one day, climb the highest point, and still make it back for the next session. So, I tried it and, well, it worked. I was 15 minutes late for the afternoon session and the quick hike was worth it. Here’s how I did it…
First, some details on Jamanota. The trailhead to hike the hill is about a 20-minute taxi ride from Orenjestad. Here’s a Google Map showing you how to get to the trailhead from Orenjestad, where you can start your hike:
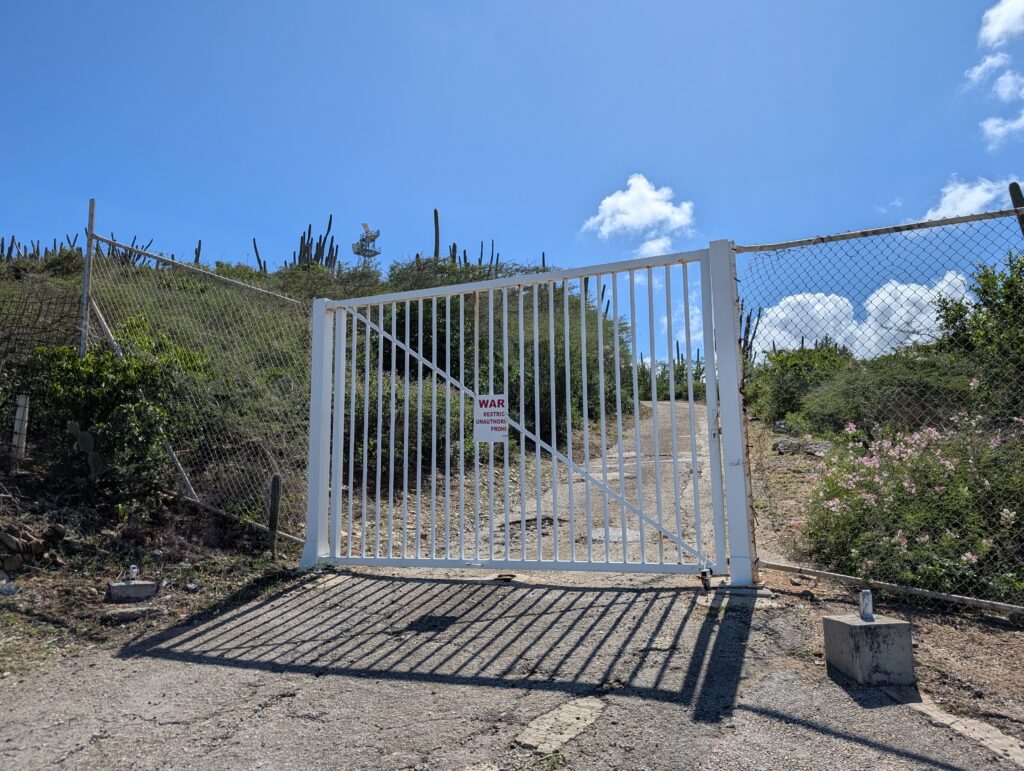
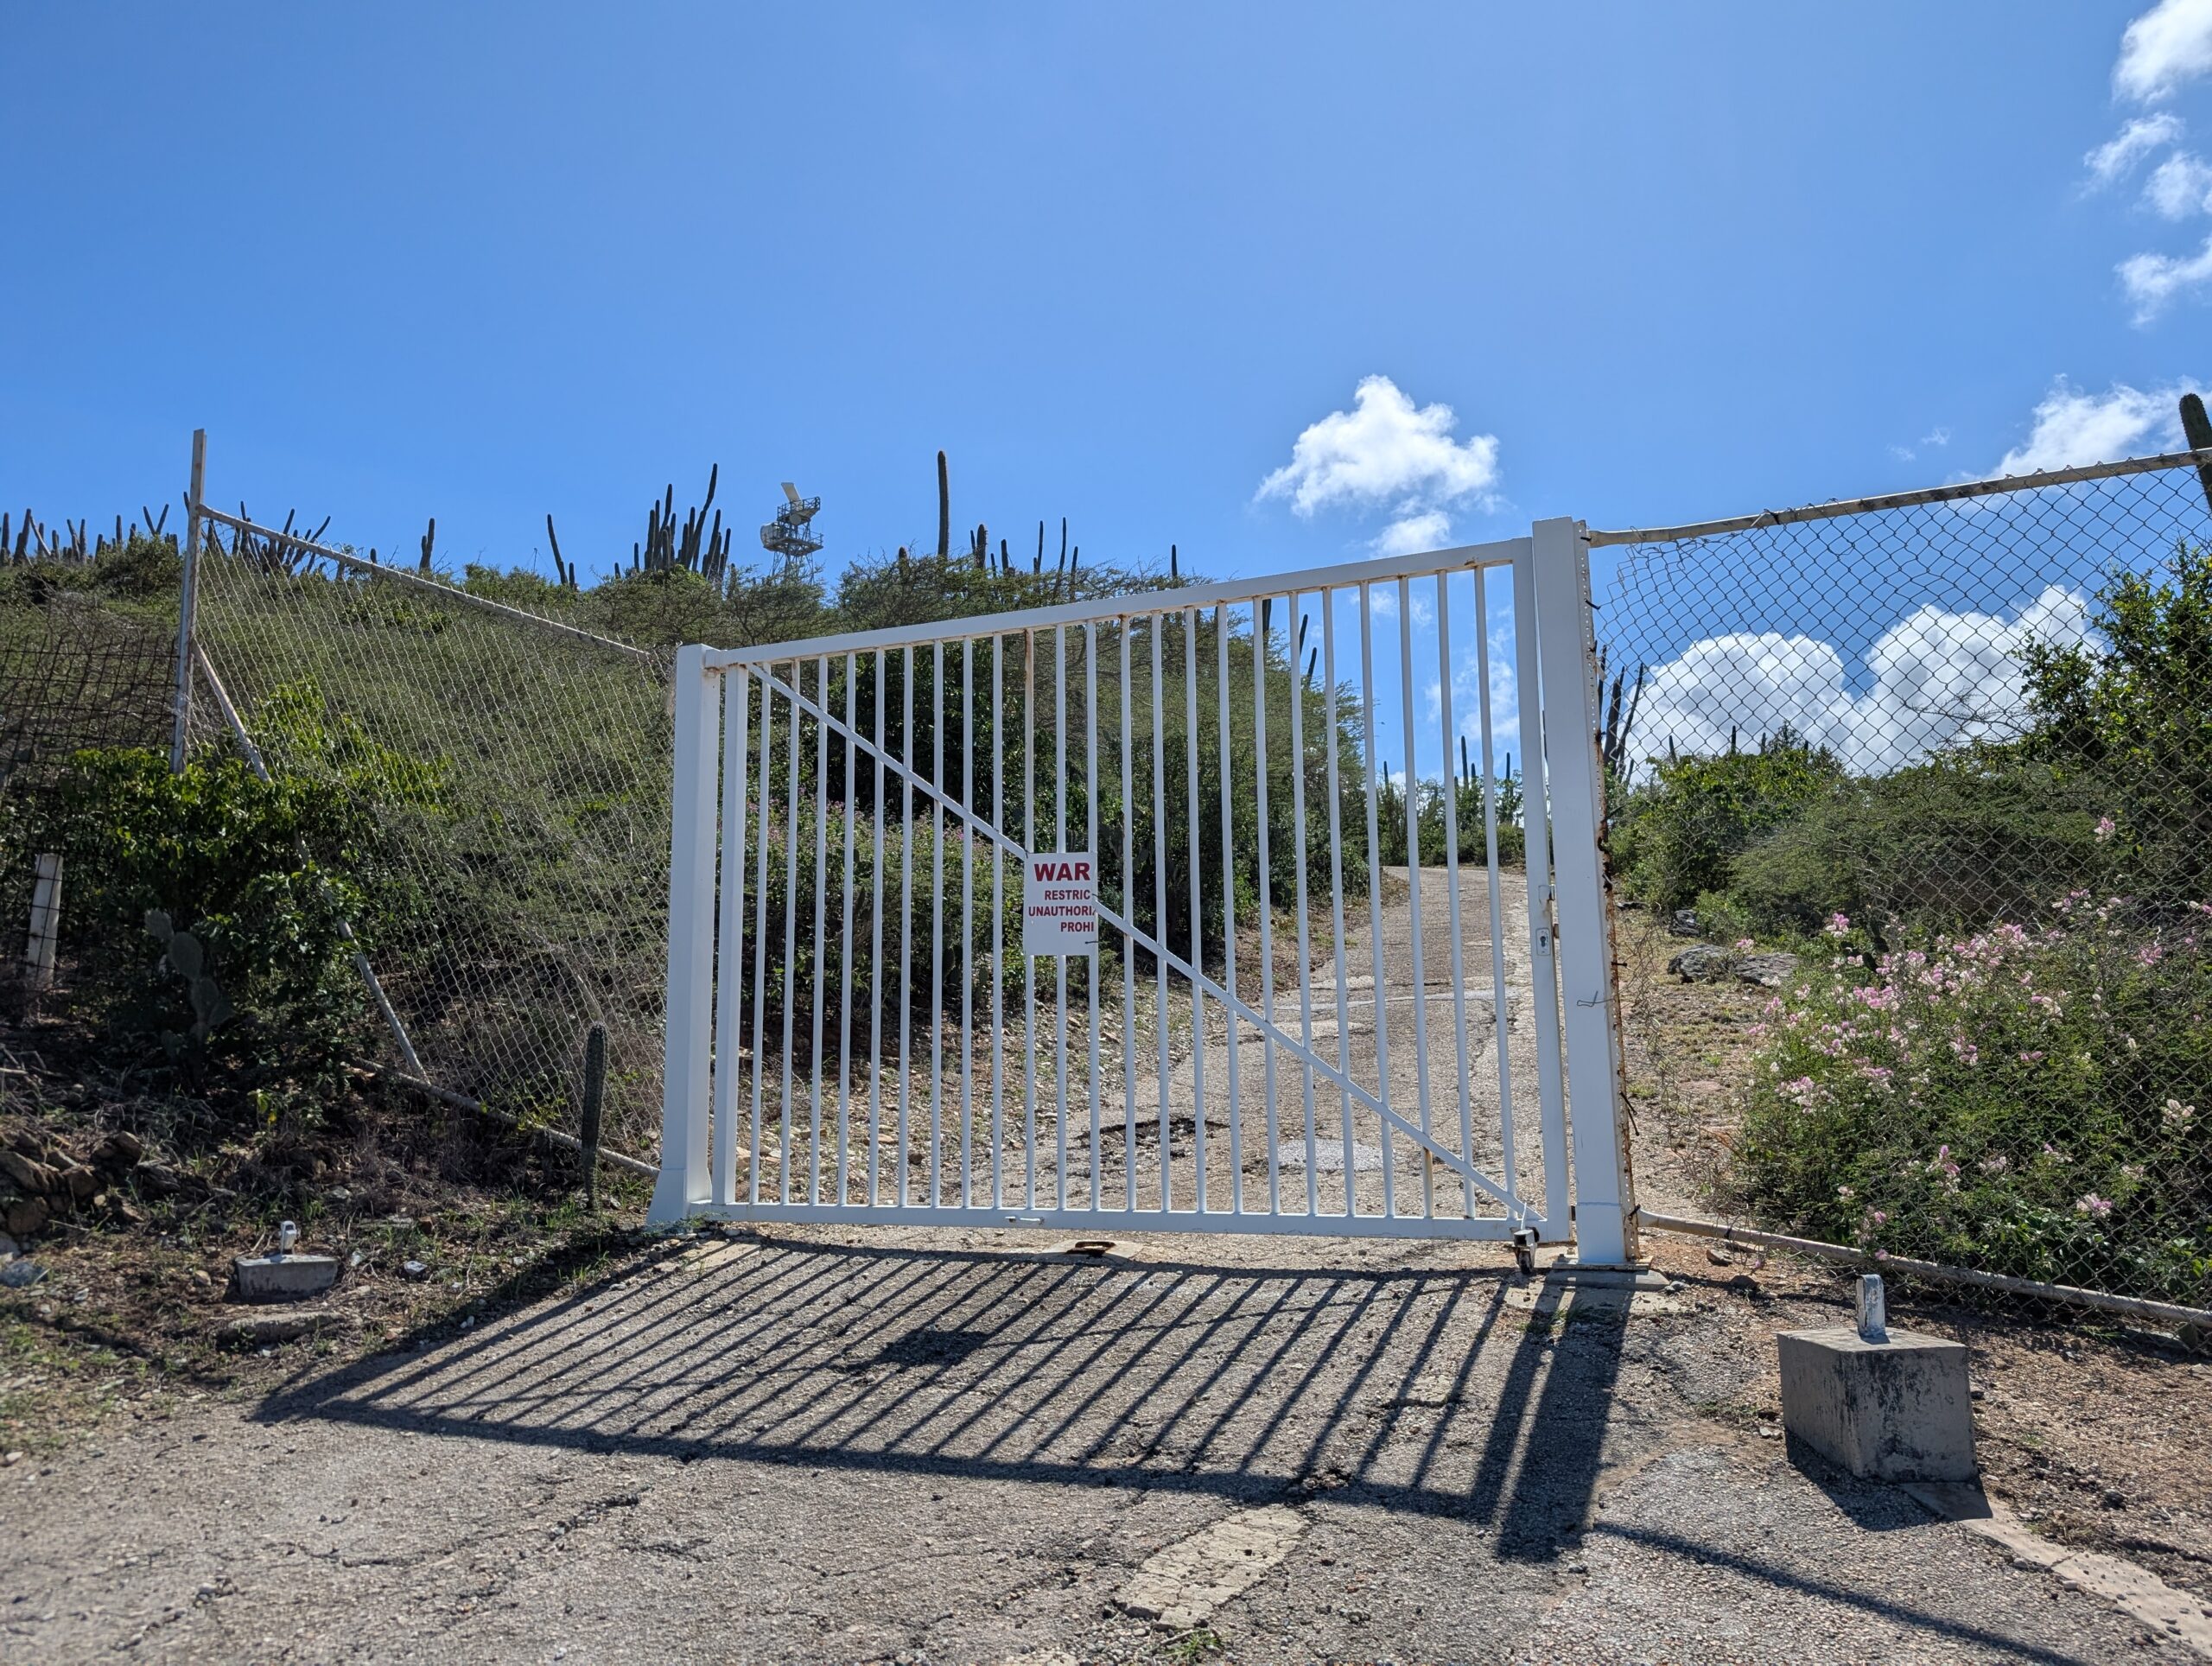
You should also note that the summit of Jamanota now has equipment on top of it. If I had to guess, I’d say it is both a radar station as well as a location for cellular towers (I’m not an engineer, but I think that is what I saw on top of the hill). There is a gate preventing you from hiking to the top of the hill that has about 40 feet of fencing on either side.

When I climbed this hill, there was a very obvious hole in the fence just to the right of the gate. I am 100% not telling anyone to go through that hole. It’s likely illegal to do so. So, probably don’t do that. But, erm, I may have done so just to get to the summit, snap a photo and video, and run back down. Here’s the video I shot at the summit:
(Short editorial: Countries should NEVER cover the highest point in the country with equipment and then fence it off. Crazy, achievement-oriented hikers like me should always be allowed to reach the highest point in a country.)
Just past the gate on the loop is a nice viewpoint. I paused there to shoot another panorama:
The trail I followed is one I found on AllTrails. It starts where I indicated in the Google Map above, goes up to near the summit where the gate is, and then loops around and back to the trailhead. Here is my GPS track from my watch:
Per my watch, it was 1.84 miles and took me a total of 37 minutes (that includes the time I stopped to take photos). Total elevation gain was about 403 feet.
Things to note about the hike.
A lot of the trip reports say that it is hot. Yes. That’s true. It was hot. I took two bottles of water but didn’t drink hardly any of it because I was moving so fast.
A lot of the trip reports also say that the terrain is really rugged. Um, no. This isn’t a particularly rugged hike with lots of uneven terrain and bouldering. These are very clear trails with gravel or dirt. There are steps carved into the mountain where the elevation is steepest. Admittedly, this hike is best done in hiking boots or trail running shoes and definitely should NOT be done in sandals, flip flops, or even tennis shoes. Tennis shoes would work in a pinch but I would not recommend them, particularly for the next reason.
Some of the trip reports noted cacti. Yep. Lots of cacti. Most are tall and easily avoidable, but there are some smaller cacti near the trail as well. I wasn’t worried as I had a solid pair of hiking shoes with thick, solid soles. But I could see how someone could have issues if they had thin shoes on this path.
Of more interest, honestly, are the sticky plants that line the trail. I’m fairly certain their stickiness isn’t due to a glue-like substance but rather a more velcro-like material on the plant surface. It stuck to my shirt, less to my hiking pants, and even to my arms. It was odd. Apparently, it can make you itchy. I didn’t have that issue, but I also was moving fast and nothing stuck to me for long. There are also some really thorny bushes, but they are largely avoidable (not so for the sticky bushes).
I was warned by my taxi driver about rattlesnakes. I didn’t encounter any but be warned. I did see dozens if not hundreds of lizards. They are about 8 inches long and were one of two colors – fluorescent blue (beautiful) or brown (not so pretty).
Finally, I figured out how to make this work without renting a car. I grabbed a taxi at my hotel. It cost me $22 for the trip there. The taxi driver, Randy, was super cool. I told him my plans. He thought I was crazy but he also knew the area and knew exactly where to take me. He then gave me his phone number and told me to call him to pick me up. I told him it would take me about 45 minutes. He thought it would take me a lot longer (not realizing that I do a lot of hiking). I was off in my estimate by about 10 minutes, but I called him when I had about 15 minutes left in the hike and he got back to the trailhead about 2 minutes after I did. Timing was great. I gave him a nice tip for the return trip. My total taxi price: $60 (with about a $15 tip).
The last thing I should note is that the trailhead doesn’t require you to go through the entrance to the Arikok National Park even though I believe it is part of the Arikok National Park. I felt a little bad not paying an entrance fee, but the hours for the National Park also seemed a little odd – 8:00 am to 3:00 pm. I toyed with doing this in the evening as I had some free time during my conference between 5:00 and 7:00 pm. I opted out of doing so because I thought I might have to pay the entrance fee. Since you don’t have to, you could do this in the evening. I’m not sure if I was still supposed to pay the entry fee or not. If so, please send me a bill. Happy to send you $5.00 for the hike.
![]()

Leave a Reply